The following is a great article we came across which describes a smart way to go about DIY garage door insulation. This is a great idea if you are looking to turn your garage into a games room, bedroom or somthing other than a garage and you want it to be warmer in winter and cooler in summer. If you would like to discuss garage door insulation in Melbourne don’t hesitate to contact us. Hope you enjoy the article.
How to Install Garage Door Insulation

The many benefits you can get from installing garage door insulation makes it a worthwhile task to undertake. By following a few steps, you will find that you’re able to do the job yourself with a little effort. The main benefit is closely simulating a room in your house. By following these easy to follow tips you will be well on your way to converting your garage into a liveable space you will enjoy spending time in.
Step 1 – Prepare
If you don’t already know what you want to achieve from a garage door insulation, the first step must be to inspect the garage and door to get an idea of some of the problems that they suffer. Does the garage suffer from drafts? Are there any damp patches? Consider all aspects, as this will help you to decide what type of insulation you require.
Measure the garage door and note down the dimensions so that you get the correct amount of insulation. There are also garage door insulation kits on the market, which are available through many hardware stores, so consider whether one of these will be suitable.
Clean the inner surface of the garage door if necessary and remove any unnecessary items out of the garage.
Step 2 – Cut Insulation for Garage Door Panels
If you are unable to get insulation panels that are pre-cut to the required size, use the measurements you have taken to cut the garage door insulation panels to the right size. Before doing this, protect yourself from the fibers that will be stirred up, by using overalls, gloves, and a face mask. This process will not be required if you plan on spraying polyurethane foam into the garage door cavity.
Step 3 – Install Insulation

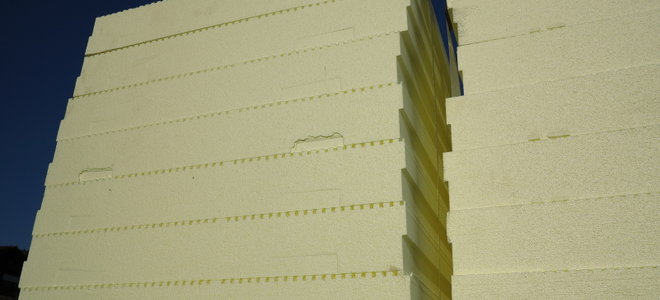
Where you are using adhesive backed polystyrene sheets, remove the backing and attach them to the reverse of the door so that they are flush with each other. Alternatively, glue the panels into place against the garage doors and use a putty knife to tuck the edges into the door panel. You can then further secure it in place by covering it with aluminum foil tape.
Thin foil insulation sheets are also available from hardware stores and serve to reflect heat back into the garage. These are easy to fit by applying glue to the door and pressing the insulation in place.
If using polyurethane foam, spray it into the cavity of the garage door in accordance with the instructions and wait for it to become solid as it dries.
Step 4 – Alternative
Weather strips can also be used as an alternative to foam insulation and are easy to install. Remove the cover of the adhesive backing and press it firmly to the garage door panel. Hold it in place as you hammer in nails at each end to secure it further.
Step 5 – Test
Once you have completed the insulation process, close the door and check for any drafts.
Click here for a link to the complete article >> https://www.doityourself.com/stry/how-to-install-garage-door-insulation


